I talk a decent amount about my artistic process on this blog, but I don't think I've ever really given you, Dear Reader, an actual step-by-step glimpse at what my process looks like. So I thought today it would be nice to take a look at how a finished drawing by J.Ho comes together. Let's get right into it…
* * *
STAGE ZERO: The assignment and the character.
The "assignment" in this case was not a blog post (although it has become, a blog post), but rather a cover illustration for a book. My old crony Charles produces an e-zine of speculative fiction called If-E-Zine (pronounced Iffy Zine). He was planning to compile some of his work into a book, and I offered my services for the cover.
The cover was to feature the e-zine's mascot and sometimes 'host,' Iffy the Ifreet, a horn-mohawked, skull-faced demon, garbed in leather, chains and spikes (very metal). Charles has dressed as Iffy for Halloween a few times (link, link, link), but always with a slightly different appearance, so I was given free reign to come up with a unique character design, as long as I met the basic criteria.
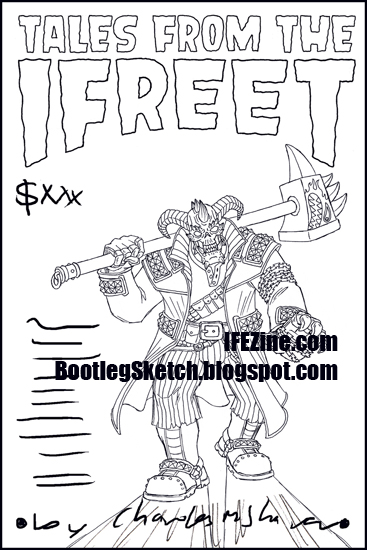
STAGE ONE: Basic concept for character design, and rough thumbnail for pose.

click above for larger view
At this stage I'm just loosely sketching Iffy, figuring out what he's going to look like. Combining my favorite aspects of Charles' past Iffy Halloween appearances, I'm able to decide on the proportions of Iffy's face, and the configuration of his horns. I sketch him with a powerful build, and very quickly I stumble upon what will become Iffy's pose for the final illustration--Iffy will be a menacing figure, stalking towards us, with a dangerous warhammer hefted over one shoulder, and a hand aglow with mystic fire.
I start working on some of the details of his costume and his weapon's design, but before I get any further, I send what I have to Charles, to make sure he likes where it's headed. He gives me the go ahead and I move forward...
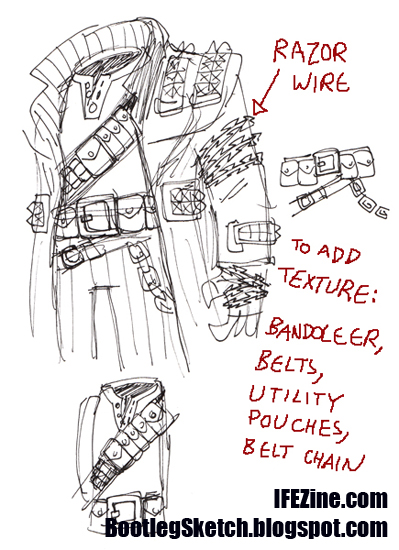
STAGE TWO: Working out costume details.
click above for larger view
A character like Iffy should have a costume that isn't to symmetrical, but on the other hand, you want the elements to feel balanced so that no one area feels too busy or too bare. One of the changes I make here is to change the barbed wire to razor wire for a more streamlined visual read.
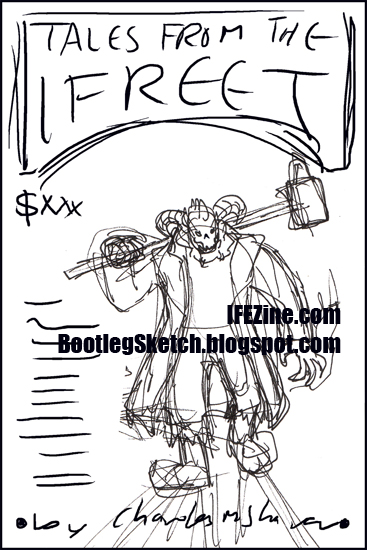
STAGE THREE: Rough cover layout.
click above for larger view
Not much to see here--I just take the rough pose that I've come up with, and put it in a template matching the dimensions for the cover, so that I can figure out how the type will match up with the illustration.
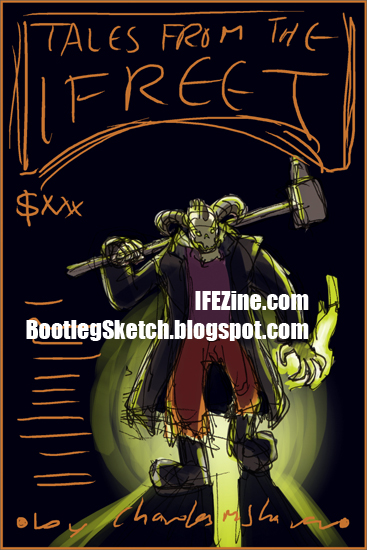
STAGE FOUR: Color study.
click above for larger view
Now I'm ready to start the actual drawing… but not really. I'm planning on a very particular backlit color scheme, and I feel the need to do a quick color study over the rough cover layout. This piece isn't crazy-involved, but I want to make sure that what I've got in my head (in terms of layout, type placement, and color) will actually work out on paper. Once I'm satisfied with it, I clear it with Charles, and start drawing…
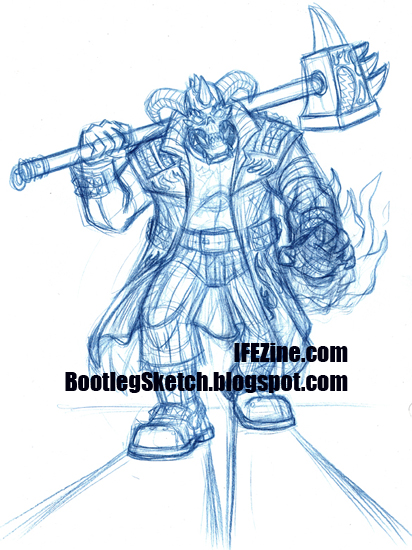
STAGE FIVE: Loose pencils.
click above for larger view
This probably seems like a complex step, but once the costume details and pose are set, fleshing out the drawing is relatively straightforward. If you look carefully, you can see that I'm contemplating a flame pattern emblazoned on Iffy's coat, but I'm not crazy about how it's looking. Charles decides the flames on the coat are too busy, so the final version won't have them.
When I'm inking my own work, it's usually unnecessary to tighten the pencils further than this, so I leave it as is and move on to the final inks...
STAGE SIX: Type treatment + final line-art in layout.
click above for larger view
When I finish the final inks, I scan them, clean them up in Photoshop, and place them in the rough cover layout. Charles wants a retro-horror-looking title font, so I research some, and hand-draw a treatment for the title. I place that in the rough cover layout as well, and now we've really got an idea of how the final piece is going to look.
STAGE SEVEN: Colors.

click above for larger view
I
Usually I just start slopping some colors around to nail down my color choices. Once I've got that figured out, I clean everything up. To keep things flexible for revisions, I tend to keep like-colors in separate layers, and give lighting effects (like the green flame and green highlights) their own layer as well. Color-wise, the important thing with this piece is the dramatic lighting created by the backlight and the green flame, so that's my focus as I bring this illustration to a close.
Charles is happy with what I've done, so that means the illustration is finished, and I just need to finalize the cover layout...
STAGE EIGHT (FINAL): The result.
Charles gives me a template for the cover, as well as all the pertinent copy for the front and back covers. I make a blown-up, faded, monochromatic version of Iffy to use as a design element for the back cover, and insert that, along with all the copy. Behold, the final result:
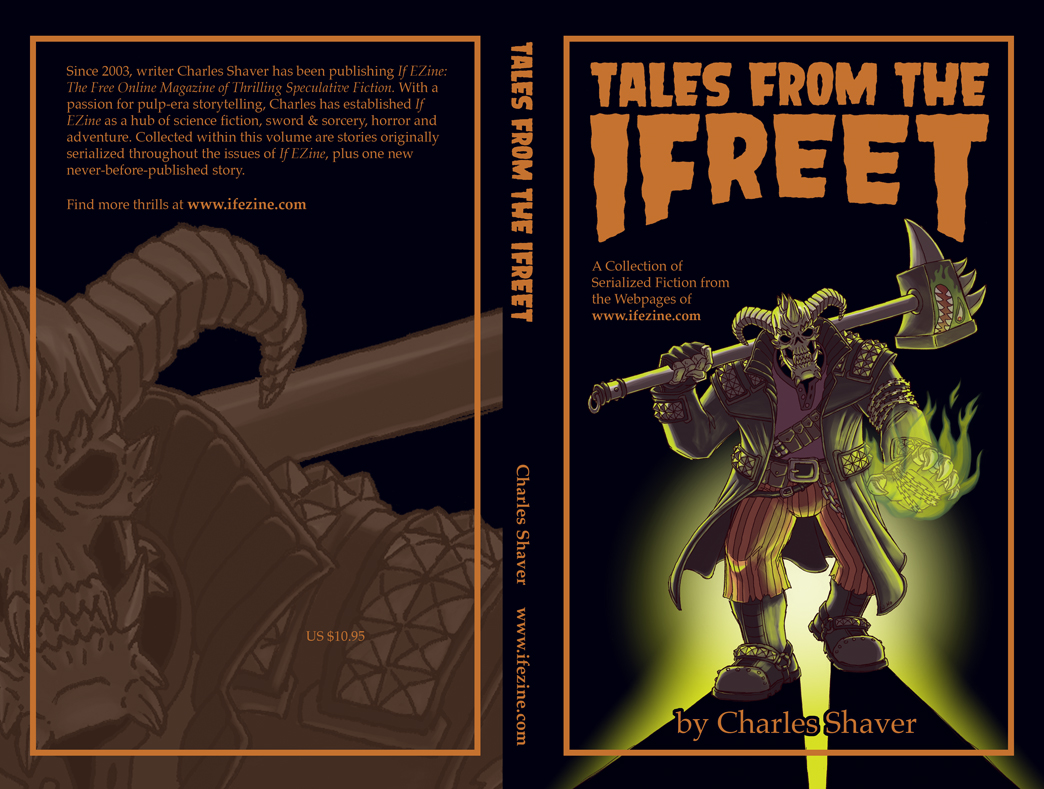
click above for larger view
You would like to buy a copy, yes?
- To purchase a copy for a mere $10.95: https://www.createspace.com/3483698
- For more info: http://lordshen.blogspot.com/2011/01/tales-from-ifreet-now-available-for.html
- If you'd like to see the walkthrough as one consolidated image file, you can get it on my DeviantArt account: http://bootlegsketch.deviantart.com/#/d37o73t

No comments:
Post a Comment